 Important Safety Information
« Click Here
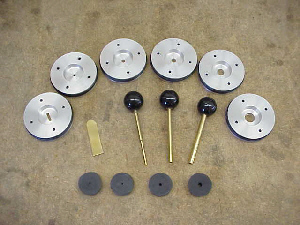
This sealing system is our original system and has since been updated with the Compression Gland Cover which is standard in all of our Pressure Chambers. This system uses a series of various sized inserts, gaskets and be used with insertion tools as shown here. If your instrument is fitted with the Compression Gland you might try looking at our tutorial of sealing a sample with the Compression Gland Cover. The Standard Sealing System allows the user to seal samples up to 1/2 inch in diameter and also seal bladed grass samples. Follow these steps:
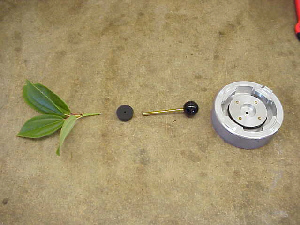
You have by now, a cut sample and are ready to introduce it to the Chamber Cover
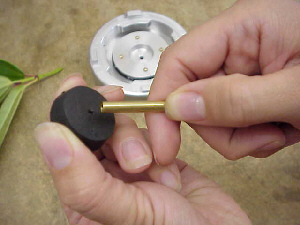
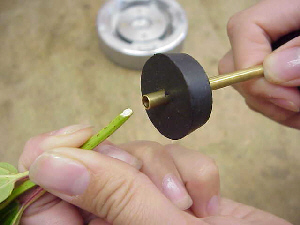
First, introduce the insertion tool into the hole of the gasket from the smaller side of the gasket
slide the tool through the gasket
Next, introduce the sample into the insertion tool
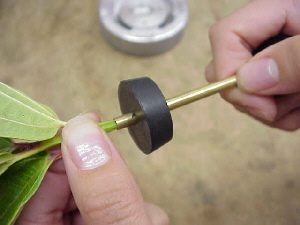
slide the sample into the tool so that it will pass through the gasket
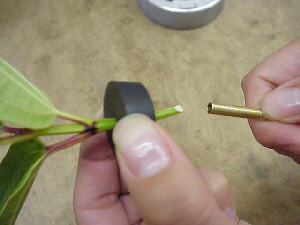
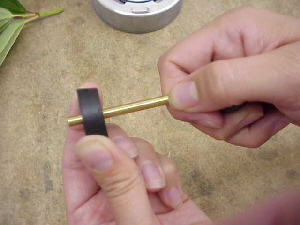
Now, remove the insertion tool so that the sample is being held by the gasket

Introduce the sample through the hole in the insert
so that the sample is showing through to the top of the chamber lid
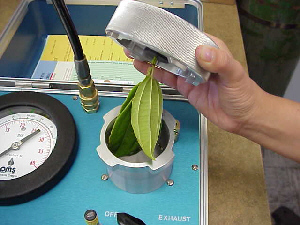
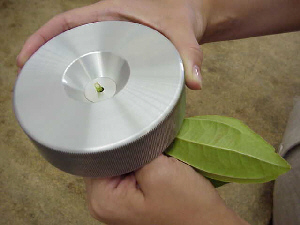
Slide leafy side of sample into chamber

Push down and turn to lock lid onto chamber
This process will require the user to decide on which insert, insertion tool and gasket to use with which sample. This takes a little bit of experience in learning how to make the best seal with different types of samples.